Updated for 2026: rodent proofing isn't one thing. It's a walk around the entire home closing every opening a rat or mouse could exploit. Use this checklist to work through your home the way a technician would.
Exterior walk (start here)
Circle the home twice: once looking at the ground level, once looking up at the roofline. Flag every gap larger than a dime, every torn screen, and every utility penetration that isn't sealed flush. Photograph anything you'll want to seal later.
Foundation and stem wall
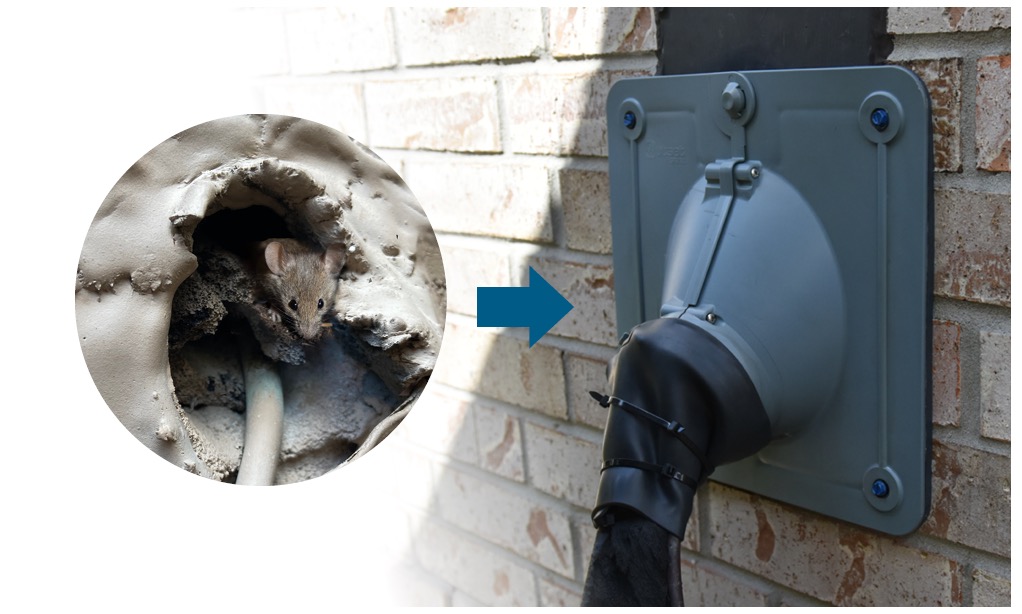
Check weep holes, utility penetrations (gas, water, electrical), and any cracks in the stem wall. Seal with hardware cloth backed by mortar or exterior-grade sealant. Steel wool alone rusts out and gets pushed aside.
Crawlspace vents and access
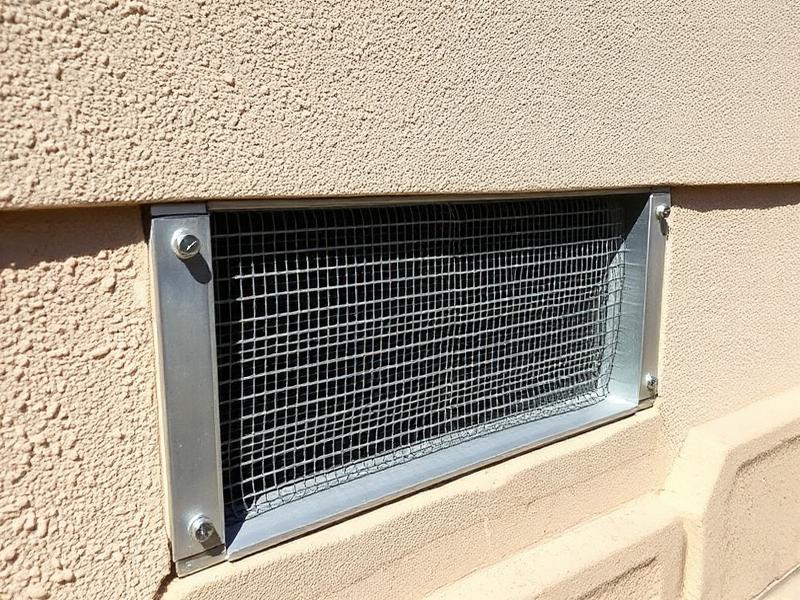
Every crawlspace vent screen needs a rodent-resistant re-screen (1/4" galvanized hardware cloth is standard). The access panel needs a proper gasket seal; most factory panels have gaps at the corners.
Roofline and eaves
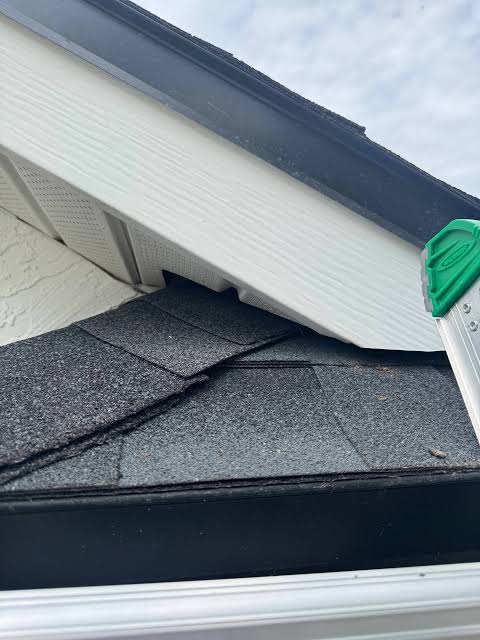
Look for construction gaps where the roof meets the wall, especially on additions and two-story sections. Roof-to-wall transitions are one of the top attic entry paths and often require flashing plus mesh to seal properly.
Gable and attic vents
Attic vents need airflow, so don't block them. Reinforce with 1/4" hardware cloth behind the existing louvers. Check dormer vents and any decorative vents the builder installed.
Garage door and jambs
Garage doors compress with age and the corners often show daylight. Replace the bottom seal and install corner seals or brush strips at each side. The service door threshold gets the same treatment.
Interior tidy-up
Inside, seal gaps under sinks around plumbing, cover dryer vent penetrations from the inside, and close any pipe chases in laundry rooms. These are travel paths once a rodent is already inside walls.
Materials that actually last
Use 1/4" galvanized hardware cloth for vents and openings, sheet metal or 20-gauge steel patches for larger holes, exterior-grade sealant or mortar to lock everything in, and stainless steel wool only as backing behind a permanent material.
When to call a pro
If you're already hearing scratching at night, seeing droppings, or dealing with recurring activity, skip DIY on the sealing step. Missed entry points are why homeowners cycle through traps for months. A professional inspection identifies openings you can't see from the ground and seals them with materials built for the runway pressure rodents apply.